How to Make a GIF for Beginners: Step-by-Step Instructions
GIFs can not only be a tool to liven up online conversations, but also a business tool. Want to learn how easy it can be to create your GIFs for either personal or commercial use? This article is made for you.
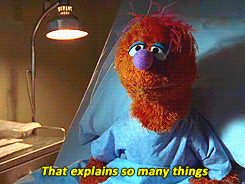
A GIF (Graphics Interchange Format) is an animated image that is used online all around the world, featuring a funny series of images. GIFs are also often used to portray an emotion, an action, a personality, etc. They are a quick and at the same time an easy way to share dynamic content. GIFs are available on most applications on which people are communicating.
The article includes:
- Creation of a GIF with EZGIF from images files
- Creation of a GIF with EZGIF from video files
- Using your GIFs on social media
Creating a GIF with EZGIF from images files
GIF files are often used in business for Digital Marketing. GIF makers – such as EZGIF – allow you to create your animated GIF files by combining separate images of one of the following formats: GIF, JPG, PNG, BMP, TIFF, HEIC, AVIH and others. You can even upload ZIP archives that contain images, not necessarily all from the same format.
First step – visit the website of EZGIF: https://ezgif.com. Then, click “GIF Maker” in the toolbar.

Choosing your files
To begin with, pick the images you want to use as frames for your GIF. Once you have chosen them, press the button “Choose Files”. For a good result, we advise you to pick at least three images. Then, click “Upload and make a GIF!”.
How .ART Domains Are Taking Artists Online Read More How to register a business email on .ART Read More Portfolio on .ART: How to showcase your creative work in 4 simple steps Read More

Tip: You can even add images of your own artwork to promote it.
Once done, if all the images you had selected are not the same size, a message will appear to correct that. Click “Resize”.

Designing the GIF
Next step is to design your GIF. Several tools are available, as there is much flexibility in what you can do. Your images can be similar and tell a story like in stop motion videos, or they can be all different like in the example below:

First, you can rearrange the order of the images, as they have been sorted in alphabetical order. All you have to do is to drag and drop them. Then, “Delay time” refers to the speed of the whole GIF. The larger the value you choose, the slower the animation will appear. You can select a different length of times each image appears for in the GIF by toggling individual screens. You can also decide to repeat the sequence of images by adding a unity in the “Loop count” input line. When left blank, the loop is endless. In terms of effects, you can select “crossfade frame” if you want smooth and fading transitions between your images, or “don’t stack frames” if you prefer to remove the current frame when the next one is to be displayed.
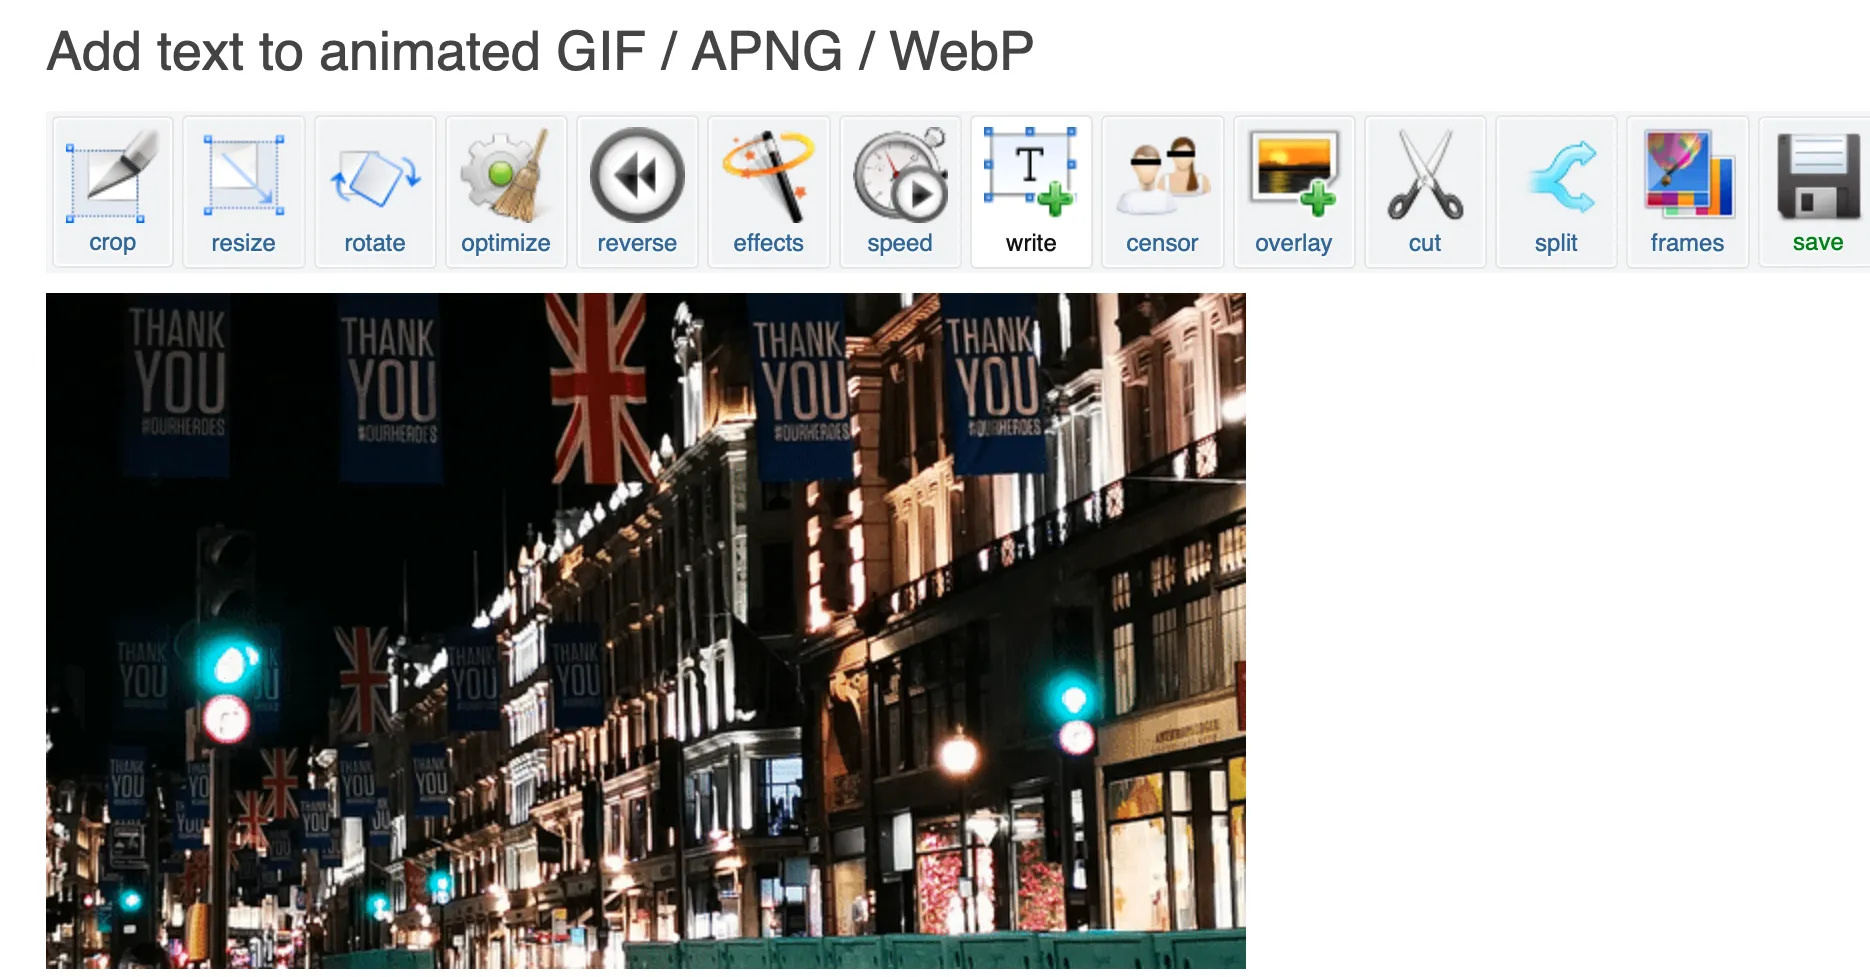
Once all the parameters are checked, click “Make a GIF!”. Your animated GIF will appear, with more options to bring change to your GIF.

As you can see, several useful effects are available. For instance, you can add text, reverse the GIF or change the speed. After clicking on one of these options, your animated GIF will appear on a new tab on which you will be able to customise it.

Once you are done with these tools, just click save and download your GIF.
Creating a GIF with EZGIF from video files
EZGIF also has a “Video to GIF” tool which – as its name indicates – allows you to create a GIF from video files, which is in fact more common than GIF files created from images. GIF files are smaller than videos, which reduces loading speed. Making a GIF out of a video can be a relevant way to promote the release of a new video on your social media, such as Youtube content. All you have to do is to select a funny extract from your video and edit it.
Choosing your file
You can either upload a video from your computer or paste the URL of a video.
Once it’s done, just click “Upload video!”.

After that, you will be able to make some change to the video.
Designing the GIF
 For instance, you can change the start and end time. Frame rate (FPS) refers to the number of frames that are shown per second. The higher the frame rate, the smoother and more cinematic the animation. Among some of the available options, “add subtitles” and “speed” can be relevant.
Once you have made all the necessary change, just click “Convert to GIF!” to obtain your output GIF. Once again, you will have access to different tools to customise your GIF.
Click on one of these tools to open the tab on which you will be able to personalise your GIF.
Once done with these tools, click “Create GIF!”. The final step is to save your work.

Using your new GIF on social media
Once your GIF has been created and downloaded as a .gif file, you can now share it on your social media.
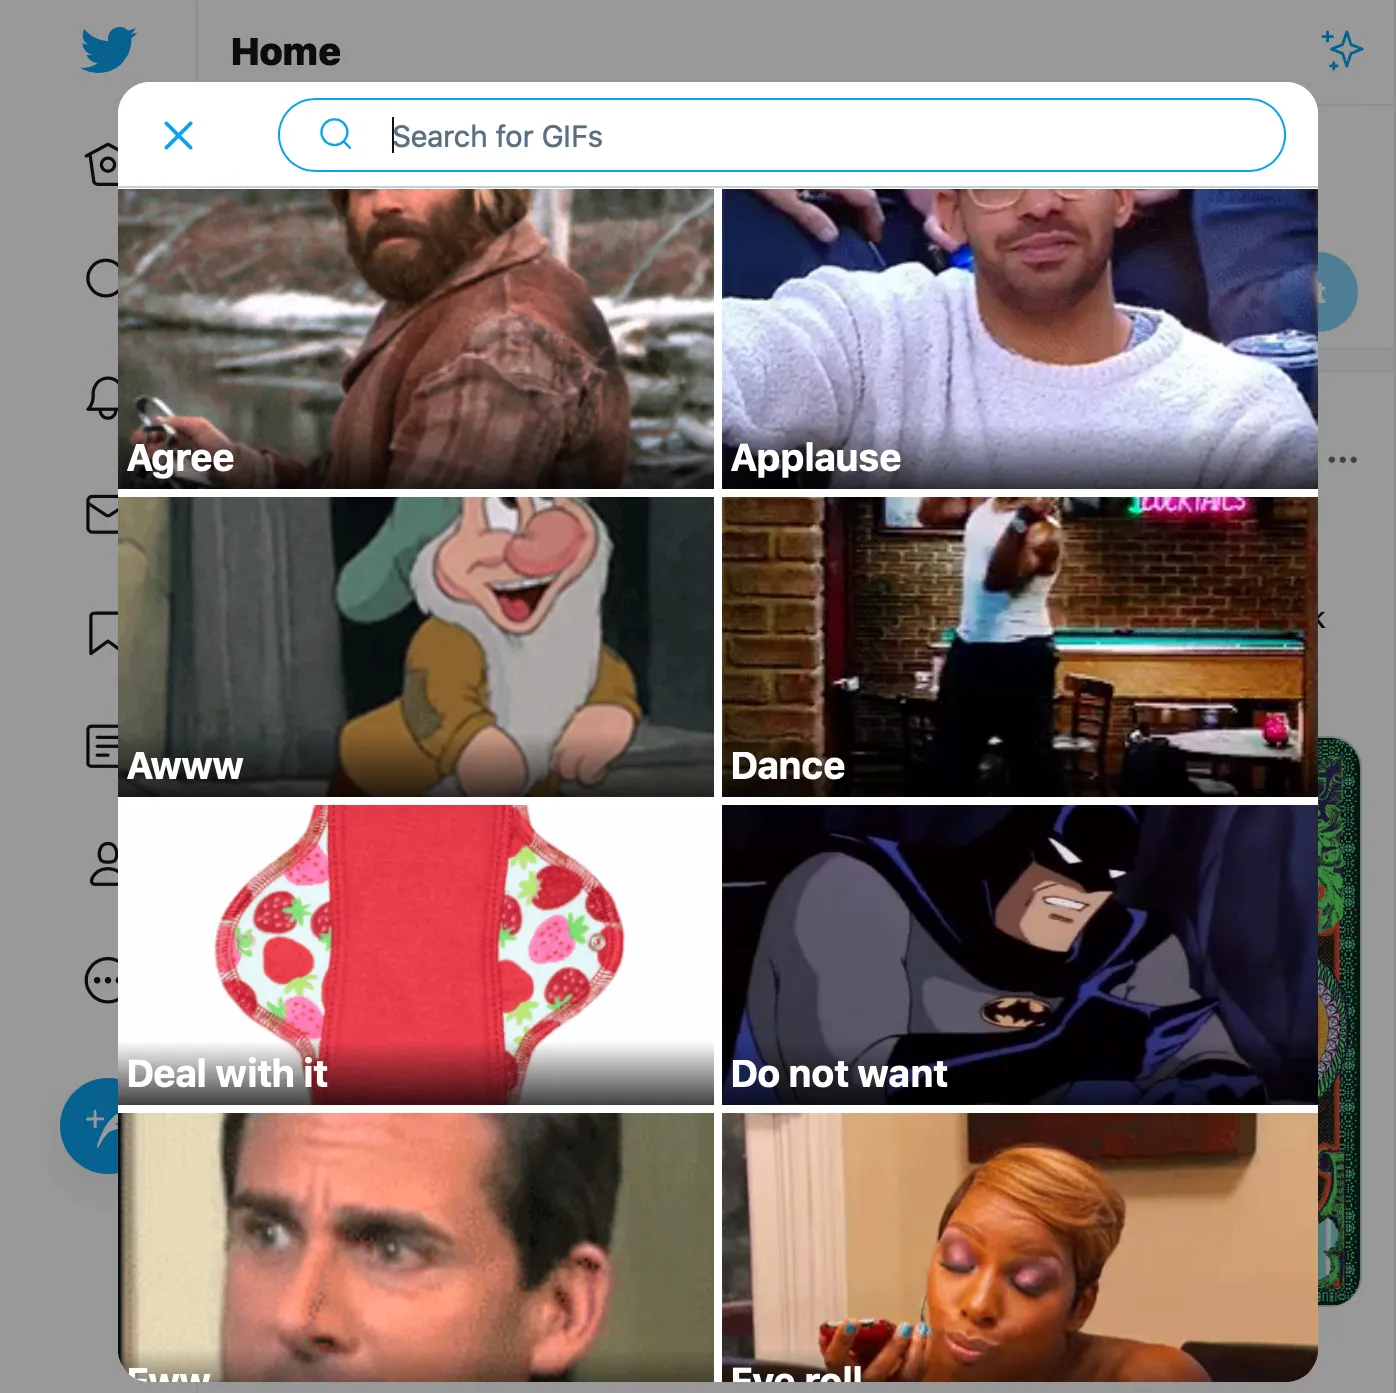
On several social media such as Facebook and Twitter, you have a “GIF” section, on which already published GIFs are available. To publish yours, you don’t have to go through this section, but rather through the “post a picture/ video” section. You can use it on your Facebook Page, your Twitter Page and others.

We hope this article will help you designing the most creative GIFs ever!